Create Project Site
A project site is a virtual project collaboration space. Projects are created from templates or existing projects. Before deciding which to use, you should consider your project's scope and requirements.
See About BrightWork and SharePoint Security for information about the permissions required to create a project site.
The BrightWork Create Project uses a proprietary site copy feature that gives far greater granularity and functionality than standard SharePoint; however, certain items are still not copied - see here for more information.
If the site copy generates any errors (e.g. items not copied) a list will be created in the new site detailing these errors.
Tip! Navigation and Permissions options can have their default values customized, or the steps removed from the process. Click here to learn more.
Create a Project Site
To create a project site:
- Select the location in the Project Hierarchy where you want to create the project.
-
Click Settings
 | Create Project.
- Give the site a Title and a Description. A unique URL name will automatically default.
- Select Rename Project Home Link to set the top most link on the quick launch to the project title, or deselect to use the template default.
- Specify a Project Manager.
- Click Next.
-
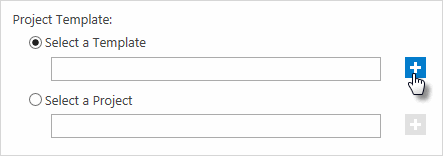
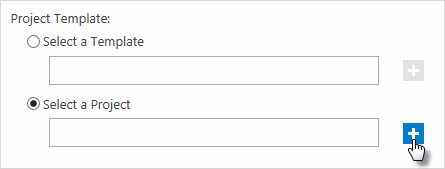
Select the Project Template:
-
Select a Template to create a BrightWork site from a template and select the template from the template picker.
-
Select a Project to create a BrightWork site from an existing project and select the project from the project picker.
-
Select a Template to create a BrightWork site from a template and select the template from the template picker.
- If needed, select Configure Content and deselect the lists and or libraries whose content you do not wish to include.
- Click Next.
-
If necessary, update the Navigation and Navigation Inheritance settings.
-
Navigation
-
-
Select Yes to include the new project site in the parent project Quick Launch and Top Link bar.
Note: The site will only be included in the Top Link bar if the Top Link bar has inheritance switched off.
-
Select No to not include the new project site in the parent project Quick Launch and Top Link bar.
-
-
Navigation Inheritance
-
-
Select Yes to have the new project site inherit its top link bar from the parent site.
-
Select No to have the new project site have its own set of links on the top link bar and to exclude the parent site from the Breadcrumbs navigation (this means the Breadcrumbs navigation starts at the new project site).
Note: If you opt to stop inheriting the Top Link bar, the BrightWork Help link will also disappear. See Restore BrightWork Help link for more information.
-
-
- Click Next.
- If necessary, update the Permissions settings.
-
Use same permissions as parent site
To give all users who have access to the parent site access to the new project site -
Use unique permissions
To give only the project site creator access to the project site and opt to add other users manually
-
Use same permissions as parent site
- Click Next.
- Review your changes and when you are ready to create your project, click Finish.