Deep Dive into Resource Management Configuration
Configuring Resource Reports
There is already a detailed topic on resource reporting. In this section we will therefore focus on Resource Reporting in Project Request Manager.
There are two recommendations:
- Show All Data
For Resource Allocation planning you will want to see the entire time frame so the recommendation is to show all data.
To set this when configuring the resource report select:
Time Windows Settings | Time Window | All Data. - Allocation Data
To prevent Project Requests appearing in the resource report you can limit the report to only display items that have work, and a start and finish date.
To set this when configuring the resource report select:
Resource Report Display Settings | Allocation data | Only render items with allocation data.
Adding Roles
Resource Allocation focuses by default on tracking and reporting on individuals. However, many organizations plan without knowing the individuals concerned and instead use Roles.
This section explains how to configure the Resource Allocation list to support Roles. It assumes that you have already followed the steps in the Configure Resource Allocation topic.
Tip! Similar steps can be followed to support Departments.
Adding Support for Roles
The steps to add roles really involves making roles more visible. To do this:
- Add roles to the Project Roles list
- Select Site Contents in the Quick Launch.
- Open the Project Roles list.
- Add all relevant roles for the organization.
- Optionally, add roles to the Quick Launch to make ongoing maintenance easier.
- Select
 Settings and Site settings.
 - Under Look and Feel, select Quick launch.
- Select New Navigation Link:
- Paste the following into the Type the Web address field:
Lists/Project%20Roles - Paste the following into the Type the description field:
Project Roles - Select the Heading 'Resource Management'.
- Click on OK.
- Select
- Update the Resource Allocation list
- Open the Resource Allocation list.
- Select the ribbon's List | List Settings.
- Select the Column visibility settings (BrightWork) setting.
- Uncheck the checkbox for Hide from Forms and Views to make the Role column visible.
- Click on OK.
- Remaining in the List Settings, select the View Resource Allocation.
- Select the Role Display checkbox and change the Position from Left to 4, or before Assigned To.
- Click on OK.
- Now update any existing Resource Allocation items with the Role as needed.
-
Supporting Multiple Resources Per Role
Often when planning by role you need more than one. To set the number of role holders:- Add a new column to the Resource Allocation list:
- Open the Resource Allocation list.
- Select the ribbon's List | List Settings.
- Select Create column.
- Set column name (to a reporting friendly internal name):
NumberRoleHolders - The type of information in this column is: Number (1, 1.0, 100)
- Default value
1. - Click on OK.
- Rename the column (to a friendly name) by re-editing the column you just created and setting the Column name to:
Number of Role Holders - Click on OK.
-
Update the formula used to calculate work:
- Select Available Work (Hrs).
- Change the Formula to:
=([Allocated Work (Days)]*8)*([% Allocation]*[Number of Role Holders]) - Click on OK.
- Finally, you MUST now set the Number of Role Holders for any existing Resource Allocation items otherwise it will be '0'.
Tip! If the default hours for your organization is not 8 hours per day you can change this here.
Note: If the number of role holders is more than 1 then resource reports will flag over-allocations. This is because items are over-allocated if they total more than default of 8 hours per day. Configure the report to change this value as needed.
- Add a new column to the Resource Allocation list:
- Update the Resource Report
- On the Resource Management page, select the Resource Report.
- In the ribbon, select Reporter | Configure Reporter Settings.
- In the Group By section group by Owner Role first.
- Click on OK.
Tips on reporting on Roles across sites
-
To report on Resource Allocation roles with Project data you need to be able to group by role values that are common to Resource Allocations and projects. This means that the column to use is Owner Role. However, in projects Owner Role is typically a combination of the team and role and has values like, 'Project Team/Project Manager'. To have a common grouping then the role names need to be the same.
- To report on Role used across projects and resource allocations it is also recommended that the Work Cache data source is used and not BrightWork reports. The main reason for this is because BrightWork reports do not extract the unique names from lookup columns used in different sites. However, the Work Cache does and therefore offers cleaner reporting in this scenario. It is also faster which is going to be critical is larger environments.
Include Roles on the Resource Allocation page
If you would like to add a link to Roles to the tiles in the resource allocation page:
- Select Site Contents in the Quick Launch.
- Open the Resource Management list. This should default to the All Promoted Links view.
- Click on
 new item and add values as follows.
- Title:
Project Roles - Background Image Location
- Type the Web address:
/_layouts/15/images/bw_15_tile_ResourceRole.png - Type the description:
Project Roles Image
- Type the Web address:
- Description:
Add and maintain Project Roles. - Link Location
- Type the Web address:
- Copy the current site URL.
- Append Lists/Project Roles to it.
- Type the description:
Project Roles List
- Type the Web address:
- Select the Launch Behavior: In page Navigation.
- Order:
2. You could also change the Overview Diagram Order to 3.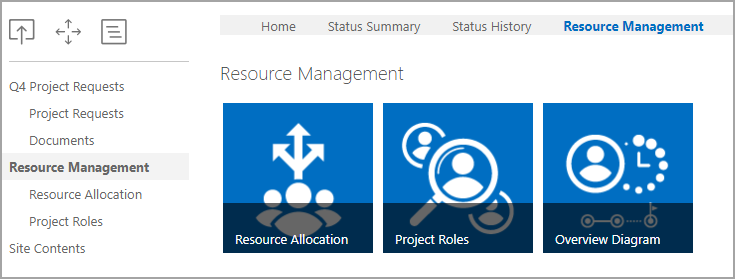
- Title: