Setup and Configure Navigation Panel
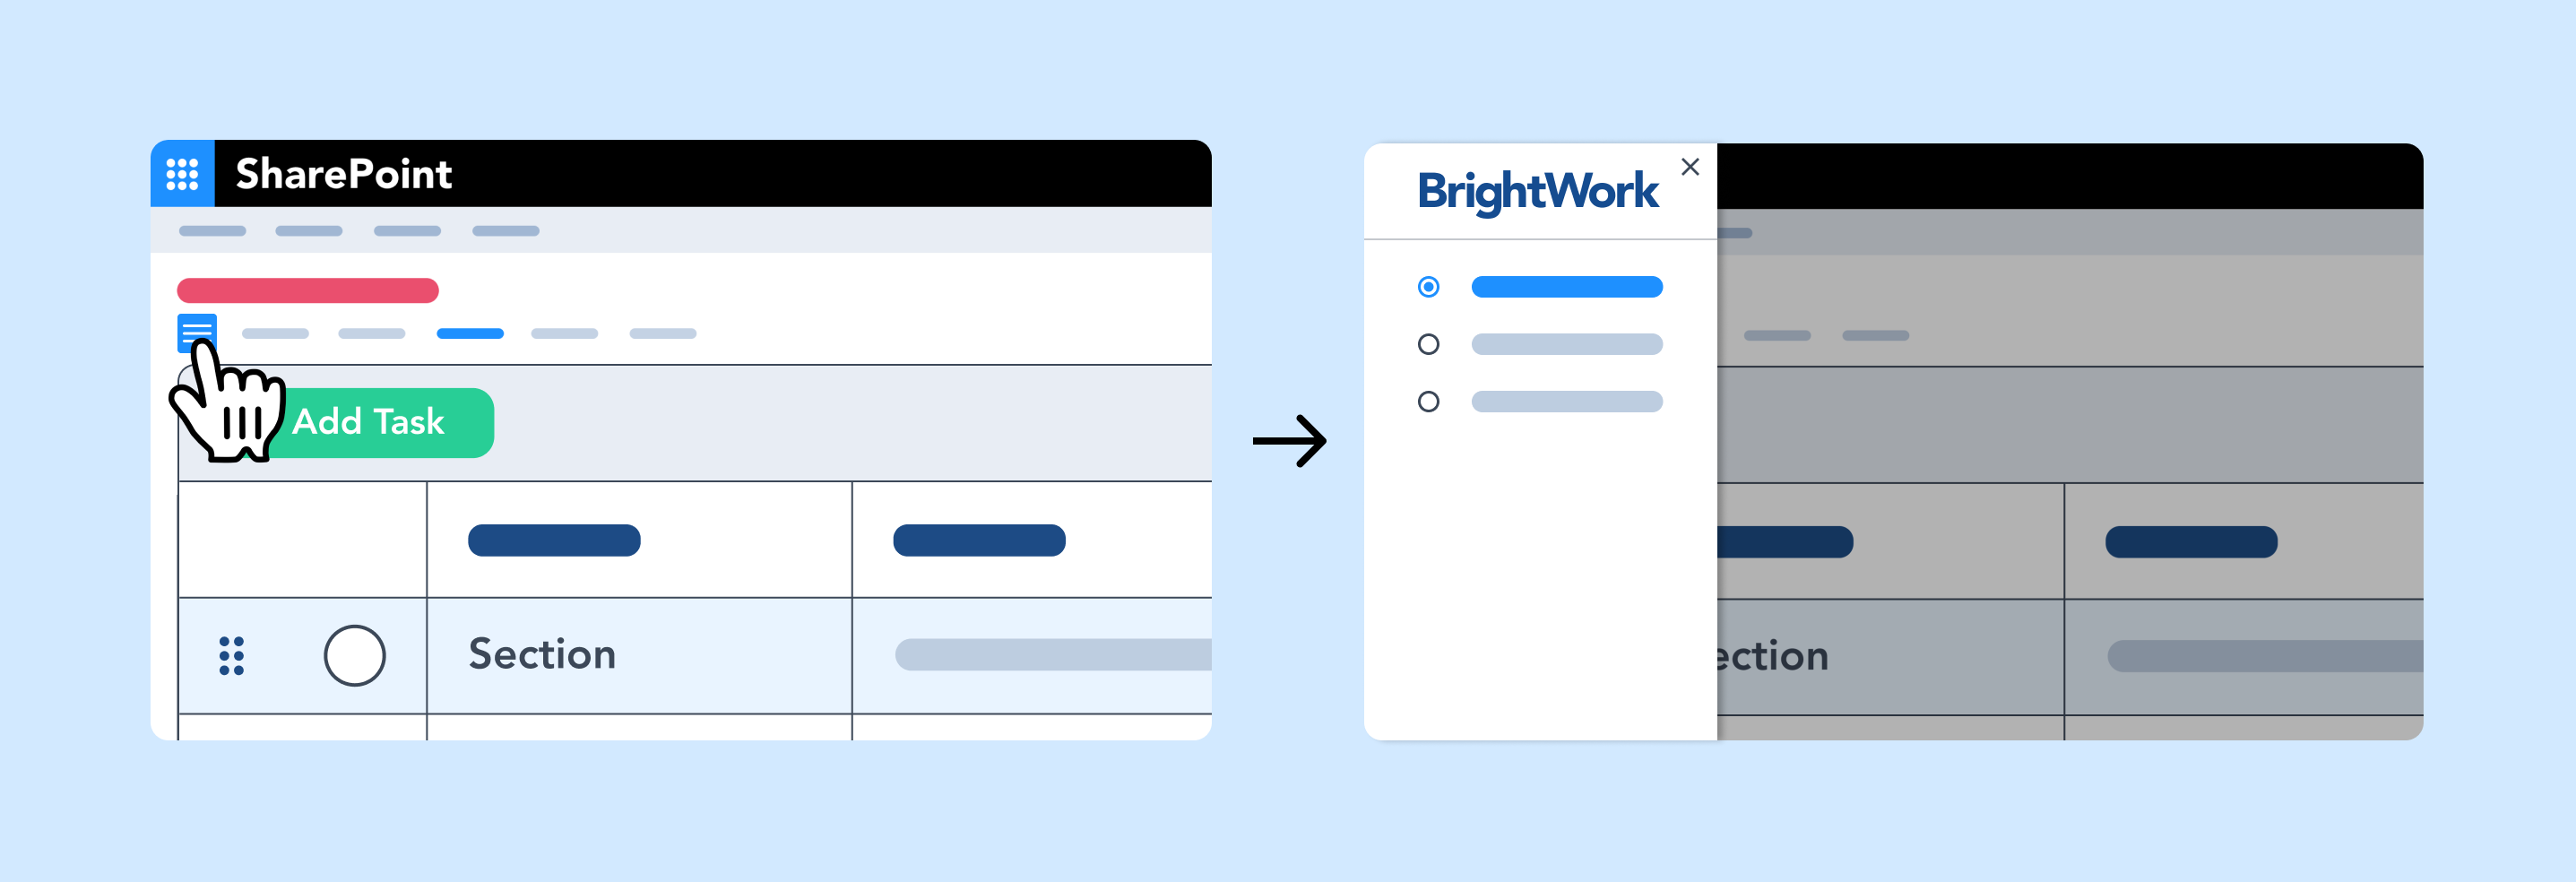
This topic describes how to setup and configure BrightWork Reporter to work as a Navigation Panel that provides easy access to other projects. When Reporter is configured as a Navigation Panel report type, a navigation icon is placed on the left side of the first Tabs web part added to the page. When no Tabs web part is present on the page, a navigation icon is added to the left side of the Reporter web part itself.
Once you have configured your report, you can save it as a web part template to save you from having to repeat your effort elsewhere.
Configure a Report
To configure a report:
- Click on the information icon
 of the report to open the Reporter ribbon.
 - Click Configure Reporter Settings then click one of the options and click OK.
Report Settings
Data Source
Select the data source.
Tip! Selecting a new Data Source, even temporarily, means that all custom report configuration settings could be lost. To avoid having to repeat any configuration effort, save reports as web part templates.
Project Cache is the only data source that will work with the Navigation Panel report type. The Navigation Panel configuration options will not be available with any other data source.
-
Project Cache
The Project Cache is designed primarily to speed up the loading of cross-site Project reports that report across multiple sites. By default, all items in the Project Cache are shown but you can filter the project items displayed by any of the three out-of-the-box views: All Projects, Open Projects and My Projects. This option only appears in the list of data sources if the Project Cache is activated. -
All items
This includes all items from the selected list or library. -
Items in this view
This uses the filtering from the selected view in the selected list or library. If there is no filtering specified in the selected view all items are included. -
Specify filter (CAML)
This allows you to write your own CAML filter and insert the code.
Filter
There are three options:
Report Scope
Define the target site, and specify whether or not to include the target site's sub-sites and the current site in the report.
-
Current Site
Selecting this option means that only the current site will be included in the report. -
Level(s) Up
This option is for including sites a number of levels higher in the hierarchy relative to the current site.Note: If you select Level(s) Up, select 1 for the parent site, 2 for the parent of the parent site, and so forth.
When you copy a project that has a configured Level(s) Up setting, the setting (e.g., 2 levels up) will be copied literally which could result in unexpected reporting results.
Select the Report Type:
Note: The Gantt Report and Resource Usage Report types will only appear if valid data exists to render the report. For example, if only one date column exists a Gantt or Resource report cannot be rendered.
The Navigation Panel report type will only appear when the data source is Project Cache.
-
Chart Report
-
Gantt Report
-
List Item Report
-
Resource Usage Report
-
Navigation Panel
Web Part Settings
Title
Enter a title for the report, i.e. Navigation. When the Chrome Type is set to None, the title will only be displayed when editing the page.
Chrome Type
For the Navigation Panel "None" is recommended as the Chrome Type.
This is so that the Navigation Panel will appear on the page as an icon ![]() without a border or heading.
The navigation icon will appear on the left side of the Tabs web part. If no Tabs web part exists on the page the navigation icon will be displayed in the location of the web part itself.
without a border or heading.
The navigation icon will appear on the left side of the Tabs web part. If no Tabs web part exists on the page the navigation icon will be displayed in the location of the web part itself.
Column Settings
Only the Project Link column is supported with the Navigation Panel report type.
Sort
Sorting is supported up to 4 levels. You can also update the sorting in the personal settings and in the ribbon.
Report Display Settings
Navigation Panel Helper Text
Enter the Navigation Panel helper text up to a maximum of 30 characters. This can also be left blank if desired.
Image Guidelines for the Navigation Panel Logo
You can customize the cross-site navigation panel by adding your own logo to provide a more visually cohesive and branded experience. The image is added at Home > Site settings > BrightWork Settings > Cross-site Navigation Panel Logo. When a logo is provided, a preview will appear in the settings page so that you can verify its appearance before saving.
Below are guidelines to follow when adding your own Navigation Panel logo.
- Display Area: 120px wide by 40px high. Larger images will be scaled to fit.
- Recommended Format: PNG (to support transparent backgrounds, especially for dark SharePoint themes).
- For best results, use a logo with a transparent background and minimal height (ideally close to 40px).
- Other Supported Formats:
- Raster (Pixel-Based): JPG, PNG, GIF, WEBP, AVIF, TIFF, BMP, HEIF/HEIC
- Vector (Scalable): SVG, EPS